Centrify
Centrify secures access to infrastructure, DevOps, cloud, and other modern enterprise so you can prevent the number one cause of breaches: privileged access abuse.
-
Log in to the Centrify administrator panel.
-
Select Apps.
-
Select Add Web Apps.
-
Select the Custom tab, then select Add OpenID Connect.
-
On the Add Web App screen, select Yes to create an OpenID Connect application.
-
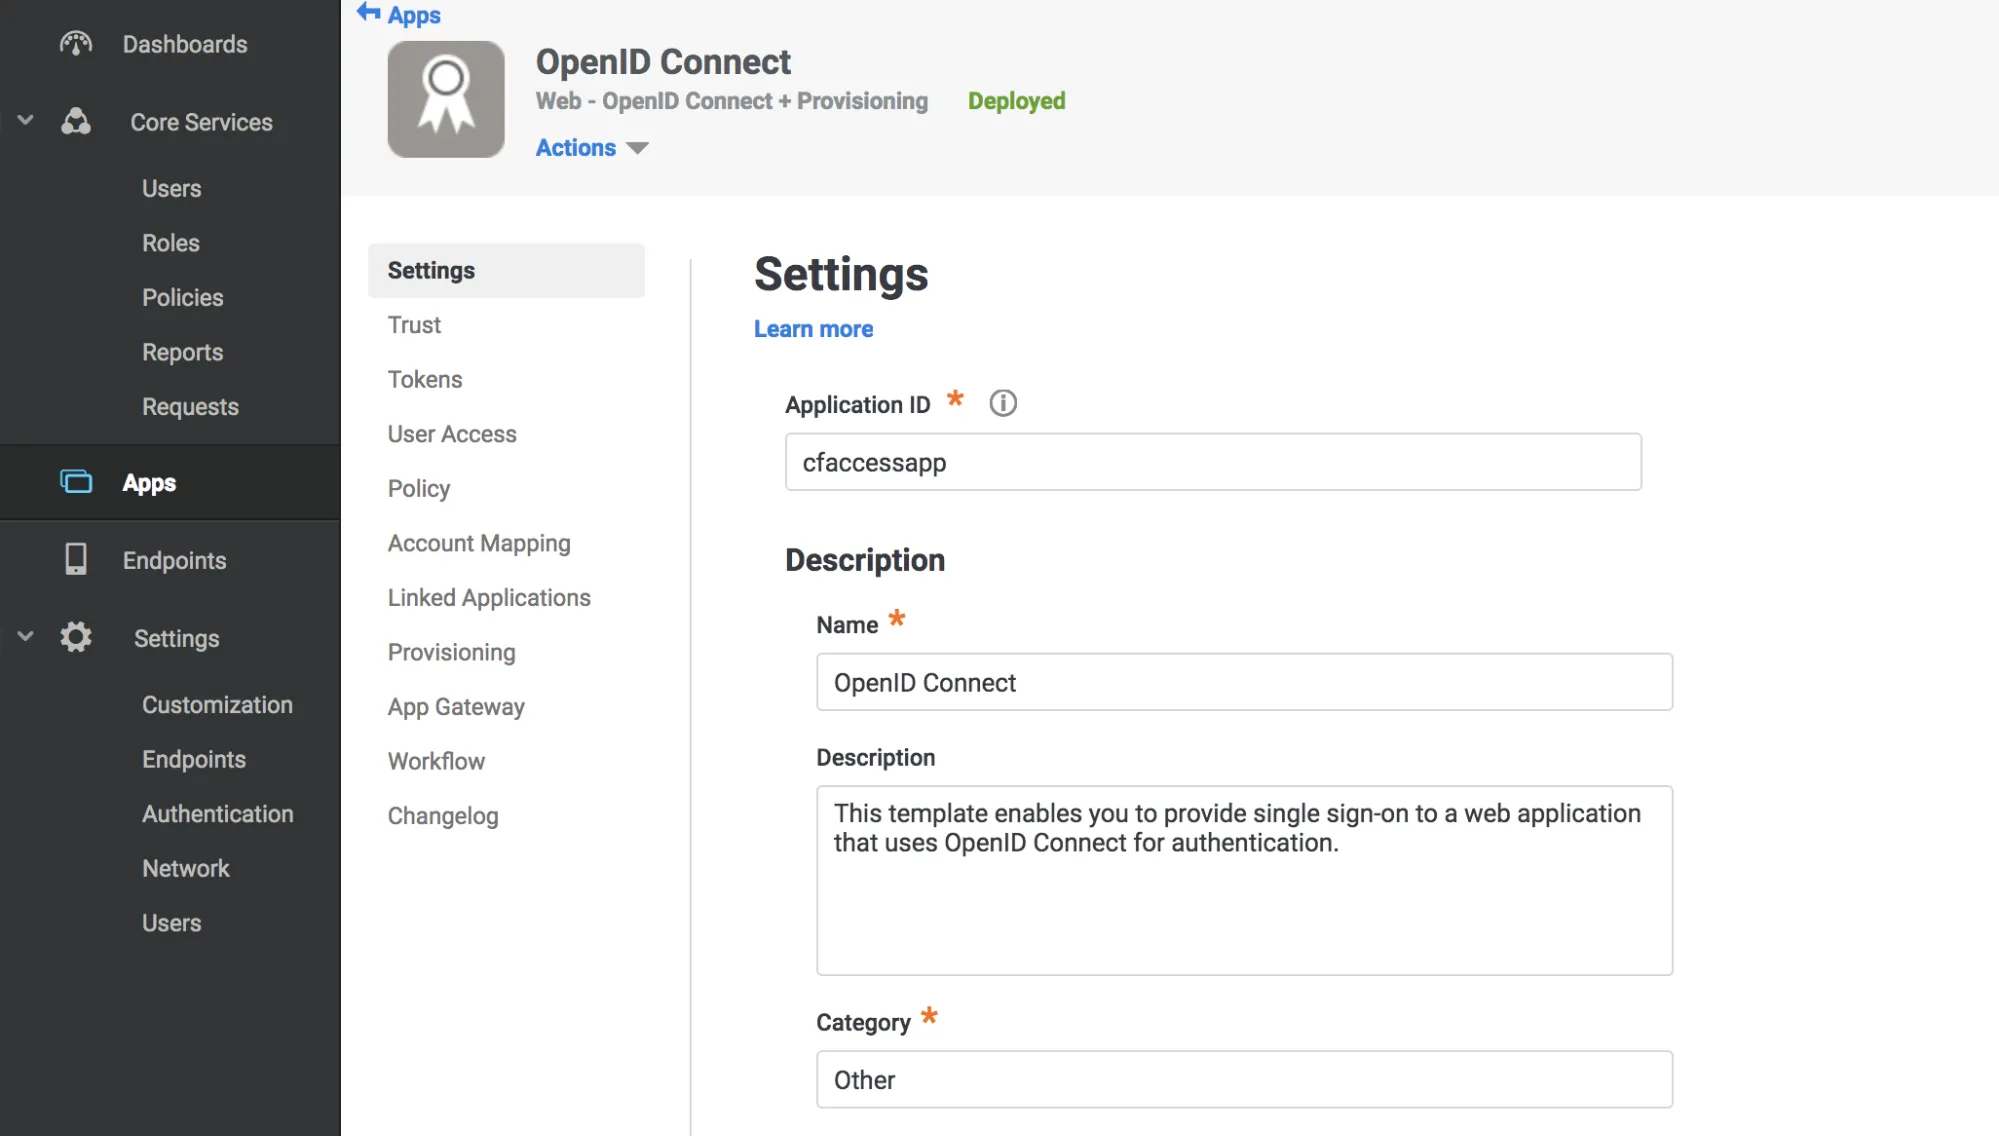
Enter an Application ID.
-
Select Save.
-
Select Trust in the Settings menu.
-
Enter a strong application secret on the Trust section.
-
Under Service Provider Configuration enter your application’s authentication domain as the resource application URL.
-
Under Authorized Redirect URIs, select Add.
-
Under Authorized Redirect URIs, enter the following URL:
https://<your-team-name>.cloudflareaccess.com/cdn-cgi/access/callbackYou can find your team name in Zero Trust under Settings > Custom Pages.

-
Select Save.
-
Copy the following values:
- Client ID
- Client Secret
- OpenID Connect Issuer URL
- Application ID from the Settings tab
-
Go to the User Access tab.
-
Select the roles to grant access to your application.
-
In Zero Trust ↗, go to Settings > Authentication.
-
Under Login methods, select Add new.
-
Paste in the Client ID, Client Secret, Centrify account URL and Application ID.
-
(Optional) Under Optional configurations, enter custom OIDC claims that you wish to add to your users’ identity. This information will be available in the user identity endpoint.
-
Select Save.
To test that your connection is working, go to Authentication > Login methods and select Test next to the login method you want to test.
{ "config": { "client_id": "<your client id>", "client_secret": "<your client secret>", "centrify_account": "https://abc123.my.centrify.com/", "centrify_app_id": "exampleapp" }, "type": "centrify", "name": "my example idp"}